Hornsea Amateur
Radio Club
Blog
|
At Fimber Halt for Railways on the Air Special Event On the weekend of 28/29 September, Hornsea Amateur Radio Club (HARC) were invited to put on a special event radio station at Fimber Halt to celebrate the anniversary of the first steam powered passenger railway which took place on 27th September 1825 - the first passenger train ran on a line in the North East of England from Darlington to Stockton. 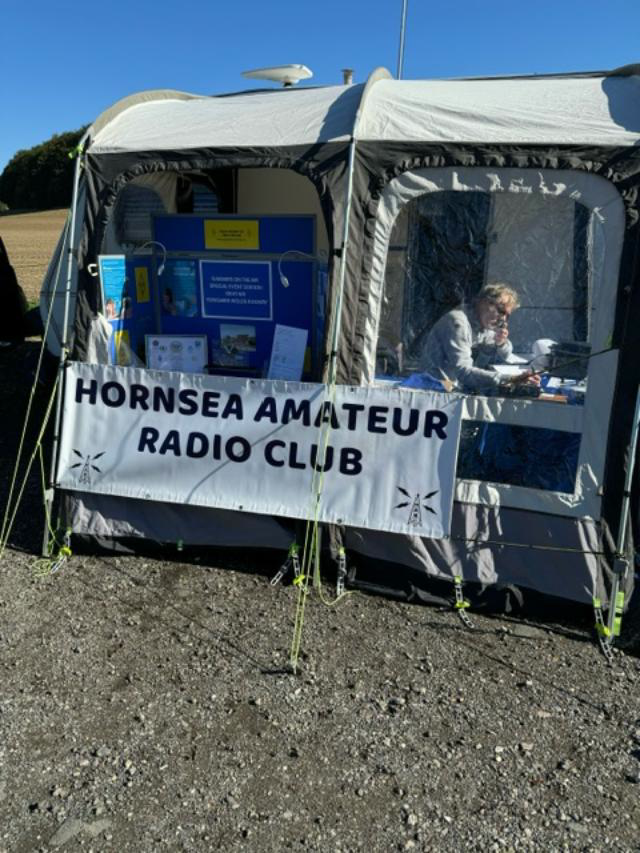
The radio station was allocated the callsign GB4YWR by OfCom and was operated by Mike G4SMB and Jim 2E0TMM from the Hornsea club with a visit from the club Chairman, Graham M1ASR. The weather was kind, Saturday was bright and sunny, Sunday a tad overcast. Visitors to the Yorkshire Wolds Railway came along to have a look and listen to the radio station after their visit to view the displays and history of the Fimber Halt railway and a train ride on Eddie, a diesel-hydraulic 5576 0-4-0 shunter built in 1979. A total of 51 contacts were made on the radio with 17 heritage railways contacted. Other railway enthusiasts called in from around the UK and Europe including Holland and Belgium. All in all, a splendid weekend with excellent hospitality from the volunteer staff of Yorkshire Wolds Railway. HARC will be back next year to celebrate the 200th anniversary of steam railways. Mike G4SMB/GB4YWR Phoito shows Mike G4SMB operating |
Introduction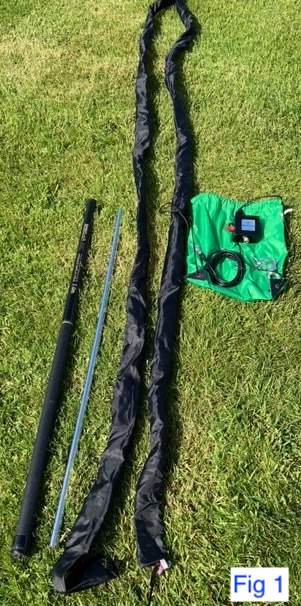 I have been a big fan of mobile and portable operations for many years, car and caravan,
UK and Germany (DA1EK) and I find there is always room for improvement especially on the choice of antennas.
I have been a big fan of mobile and portable operations for many years, car and caravan,
UK and Germany (DA1EK) and I find there is always room for improvement especially on the choice of antennas.We have a favourite caravan site which we visit regularly during the year located in High Normanby about 4 miles South of Whitby and geographically inland high above Robin Hood’s Bay North Yorkshire. The owner Alex is a good friend and he arranged for me to put up poles and wire antennas on the site perimeter and in addition sought clearance for me to rig up a long wire from my caravan pitch into the neighbouring field which was excellent and very kind of him (his brother is a radio ham so that helped I don’t have his callsign sadly). The only drawback at times entering the adjoining field was I had to negotiate rare breed sheep, goats, and an Alpaca so challenging to say the least (neither of us sustained any injuries during the skirmishes). I chose and am currently using the Bantenna sleeve antenna system. See www.bantenna.co.uk. The Bantenna is basically an outer and inner nylon sleeve which has a mesh copper wire along its full length and is mounted on a 7m fishing pole and connected to the radio via a balun and 50-ohm coax. Fig 1 shows the full kit with an additional short mounting pole and a tow ball clamp. 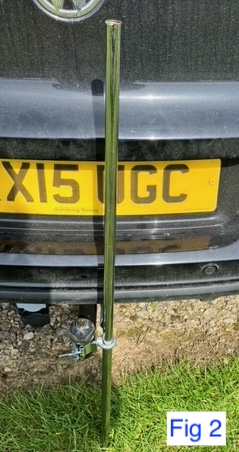
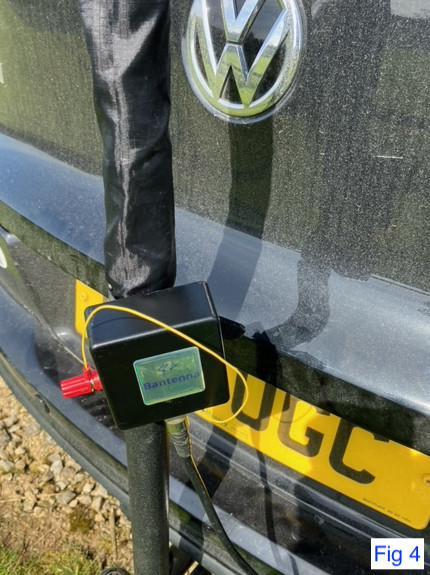
I have 2 installation methods which I use on different ground conditions: 1. Ground mounted hard standingthe short pole is clamped to the tow ball Fig 2. Once that is in place the nylon sleeve is pulled gently along the extended fishing pole and then the pole is placed over the short pole in the vertical position. The balun is clamped to the pole via a Velcro strap and the yellow pigtail from the inner sleeve is connected to the balun. Fig 3. Because the thin end of the fishing pole is very sharp and can rip the inner sleeve when being inserted, I cut a short length off the end and glued a plastic bead to the end which make it smoother and less chance of snagging or bunching. Fig 3a. Fig 4 is a close up of the connections.2. Ground mounted soft groundthe installation is basically the same as described in para 1. The difference being the short pole is hammered into the ground instead of being clamped to the tow ball. Given the amazing flexibility of the fishing pole, guying is not necessary.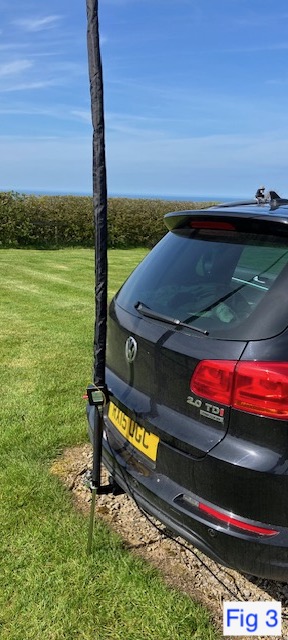
Best DX thus far on the soft ground mounted installation from the caravan site was PJ2ND Curacao Island 15m CW 100W – 4700 miles. 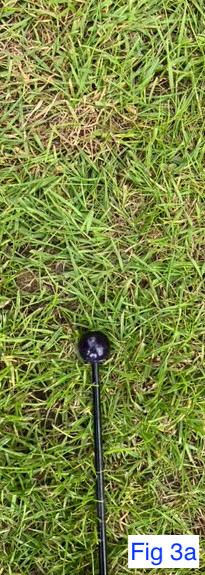
|
|
HP Proliant server psu's are a great way of getting a very high quality switchmode PSU For your shark. To get hold of one simply search eBay for HP Proliant PSU. How to get your PSU working  There are 6 short leads on the exposed card slot and 2 large pads for a total of 8 pads. Simply bridged the left farthest pad to the 4th pad to the right. Next soldered up some connectors on the large pads where left side is negative and the right side is positive. For a more in-depth explanation watch the video below by Andreas Spiess HB9BL. |
|
It's about 20 years since morse skills were a requirement for HF licenses. As with any changes to rules and regulations, this caused all sorts of ruckus towards the end of the last century and millenary. Geoff G4IGY SK said at the time of it's removal as a licence requirement that he thought this would boost the use of the CW mode. He thought that it becoming optional would make some people look on it as an interest rather than a painful necessity. Learning the code details should take about a fortnight. The time taken to develop fluency and speed takes longer and some people never achieve a workable skill level. With the code being a requirement, some chaps really struggled with it. G4IGY considered that the removal of urgency from the learning process could make things less fraught. Using the mode in practice has a sound historical feel to it and most people who do use it become attached to its slight oddnesses. Regular communicants learn their QSOmates fists and there can develop a camaraderie additional to the standard amateur spirit. Machine generated morse is useful for practice purposes but hand sent code is essential for development of band-worthy reading. There is always someone available for QSO practice. Ideally a number of senders should be listened to in order to develop a wide capability. 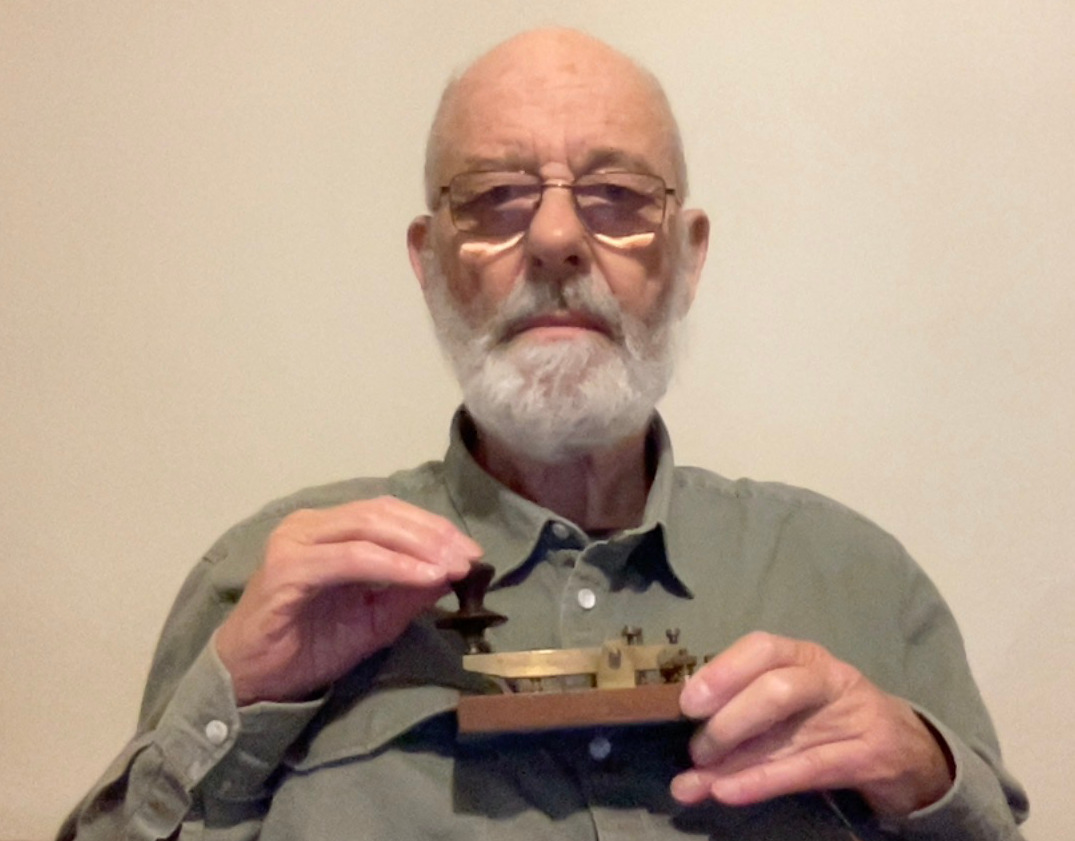
It is most important to realise that many telegraphists think that there is only one way to learn the skill. This is mistaken thinking. Everyone has their own way of learning things and it is easiest to learn from a teacher who adapts to ones own preferences. Sadly, we cannot always get what we want. (Mick Jagger was right.) One detail that is often stressed is that a learner should not do any sending until he has a reading speed of at least twelve words per minute. This has a measure of truth but needs to be taken with a pinch of salt, as is the case with most "musts". G0TPS is one of the telegraphists available for code practice on HF or 2m CW. vy 73 de John G0TPS. |
Basic operation - stand alone logging , computer not connected to rig.

  Click: FILE, drop down menu appears,
  Click: NEW LOG  IN DATABASE
  You will now see SELECT CONTEST TYPE FOR NEW LOG
  For the RSGB 80m CC series
  Click : RSGB80MCC
  Check Start date and time – correct if necessary
  Proceed down the boxes
  Click : Operator SINGLE OP
  Click : Band  80M
  Click : Power  LOW   ( for 100w)
  Click : Mode  CW     or    SSB , if doing DATA  choose DIGITAL ( not PSK or RTTY)*
  Click : Overlay   N/A
  Click : Station FIXED
  Click : Assisted NON-ASSISTED
  Click : Transmitter   ONE
  Click :  Sent Exchange  #
           Operators – ensure your own Callsign is in the box
  Click :  OK  when finished
*DIGITAL option gives you both PSK and RTTY for the 80m Data section and you can toggle between the two modes. It will also allow you to work the same station on both modes without thinking it is a dupe QSO. When you have clicked OK you should have window to start logging. When Computer is not connected to you rig you will have select 80m again in this window ( it defaults to 20m for some reason) You are now ready to start logging, put the call you have worked in the large box with flashing cursor and press the space bar. The cursor will jump to the extreme right box for his serial number. Put the number in and press enter. Your serial (to send) will shown as soon as you press space bar. You should see the log appearing on your screen, you can move small window around to prevent obscuring the log. Just hold your arrow on the top part of the window and drag. Try a few dummy entries to get the hang of it. Use F12 key to wipe an entry. You can also correct any log entries by placing your arrow on the part you need to edit, again have a dummy run. When the contest has finished save your log as follows: Click: GENERATE CABRILLO FILE My computer defaults to saving on Local disc, I save logs on my Desk top. Make sure you save the log to somewhere you can find it easily ( for uploading to RSGB Contest site) If you use Logbook Of The World (LOTW) and/or Club Log save it again as an ADIF file and upload it to LOTW / Club Log. 
NB I am no expert with N1MM, the above notes are for anyone to get started. You can connect your rig to your computer and use N1MM to send the contest exchange when on CW. I cannot help you there – I had some welcome help to do that. Further more when using DATA, N1MM can work combined with FLDIGI, but again that is beyond my capabilities – hi! GL in the contest OM |
|
|

Little Book of EV Myths 2 Download a free digital copy of our internationally acclaimed Little Book of EV Myths.
Over 40 of the most widely used and incorrect myths about electric cars, hydrogen, batteries, EV fires and much more.
|